

Setup a Python environment in Windows
Get ready for Data Science / ML - Part I

To start working on Machine Learning you need tools, and those tools need to be installed in an environment. Think of an environment as a kind of workshop, except instead of a hammer or a screwdriver, you have Python and Keras.
We will go through how to set up a Python Data Science/ML environment. In this article, we will focus on Windows. We will also show how to install the main Data Science/ML libraries such as TensorFlow, Keras, Numpy and Pandas within our environment.
If your OS is Linux, then check this article instead.
Install Python
The first thing we need to do is install Python. For that, you have to go to https://www.python.org/downloads/windows/ and download Python 3.10.X (X refers to any subversion of Python that starts with 3.10, such as 3.10.9, 3.10.11), we won't be installing the latest version as TensorFlow has no support for Python 3.11:
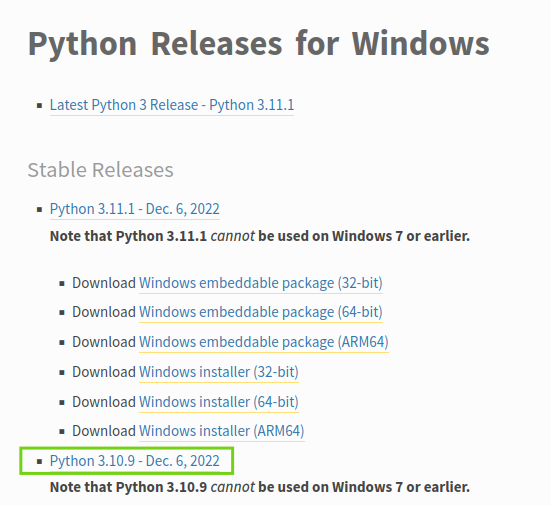
Once you click on that, it will take you to a new screen where you will have to scroll down to the bottom and select the correct installer.
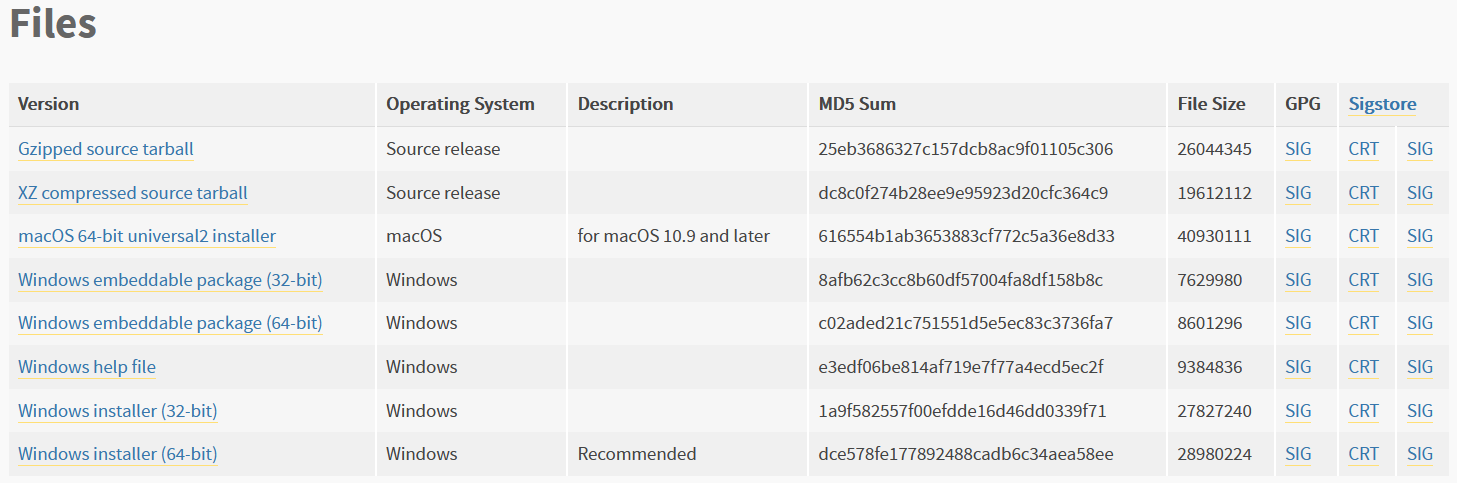
We will always select the Windows installer (64-bit) marked as recommended, the download should be less than 30MB.
Once downloaded, double-click on it to start the installation.
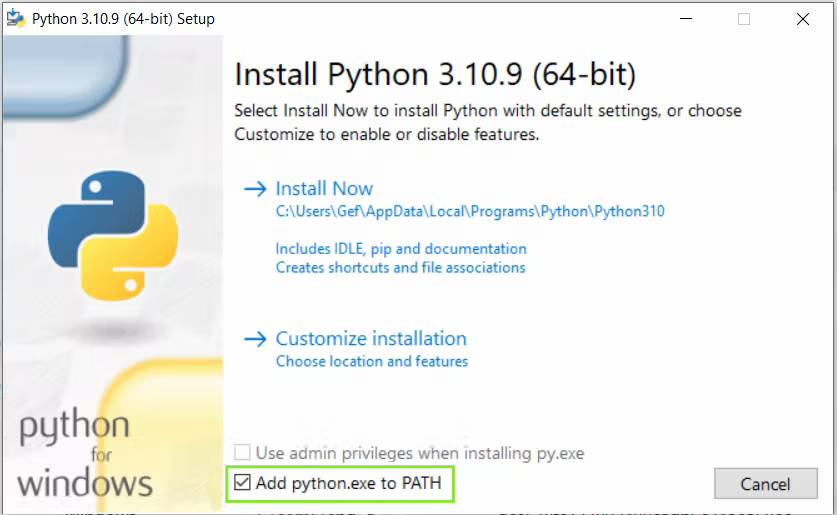
Note: Please make sure that you check the bottom left box that says "Add python.exe to PATH", this way Python will be accessible from any console and will make your life easier.
Then just click on install to complete the installation.
In order to check if the installation has been successful, open a terminal (we recommend PowerShell but the normal console will work just fine) by searching either PowerShell or cmd into the Windows search bar:

Then, in the terminal type Python and press enter, you should see something similar to what we show in the next image:
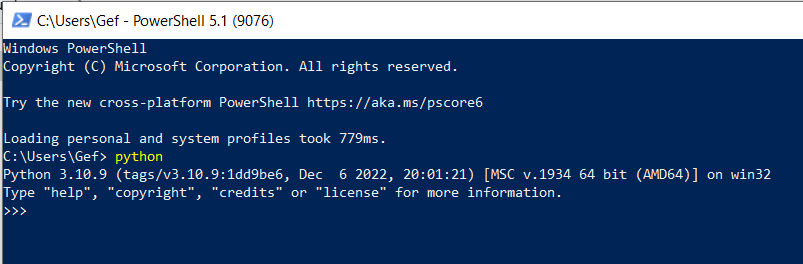
That is the Python command line, we will go deeper in the following lessons. If you forgot to check the "Add python.exe to PATH" checkbox on the installer you will see an error. Just relaunch the installer checking the box this time around.
Now, we need to install a couple of python libraries, first of all, exit the Python command line by typing exit() and pressing enter, then type the command pip install virtualenv:

Create your environment
Now we will create our virtual environment. This environment will hold all the installed Python packages, make sure you are in the directory you want to be in (by default the terminal opens on your user's folder) and type:
virtualenv mlpills

Note: Here "mlpills" is used as the name of the environment, we will be using that environment for the rest of the tutorials, feel free to use any other name for your environment if you want, but we will be referring to it as "mlpills" on all tutorials.
Then you need to activate the environment with the command:
.\mlpills\Scripts\activate

Install your libraries
You will see that on the left-hand side of the command line, the name of the environment will be between parenthesis, which means that any Python package that we install will only be available on that environment.
Now we just need to install the rest of the libraries with the following command:
pip3 install tensorflow keras numpy pandas
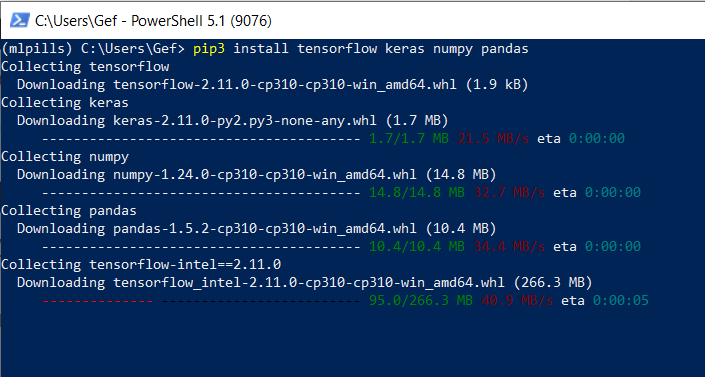
Once done, you will have all the Data Science/ML environment tools that will be covered in this blog. In future tutorials, we will make use of these tools to build different ML solutions to real-life problems.


